Blueberry Lemon Ice Cream
If any of you know me at all, you know I have a penchant for collecting kitchen equipment, and I’ve always said that my Kitchen Aid Stand Mixer is the Holy Grail of kitchen equipment. I think it’s one of the most used tools in my kitchen, from bread and pizza dough kneading, to making cakes, whipping cream, and now churning ice cream. If my stand mixer is the Holy Grail, the ice cream maker attachment to the stand mixer is literally the cherry on top of the ice cream sundae which I eat out of my Holy Grail.
You may also know that I have a perhaps unhealthy obsession with ice cream. Here at Mission Kitchen, we have at any given time, at least 3 different flavors of homemade ice cream in the freezer. We also have on hand an assortment of homemade cones, ‘cone bowls’, cookie crumb toppings, and other ice cream accoutrement. Needless to say, we’re prepared at any moment for the need for an ice cream sundae.
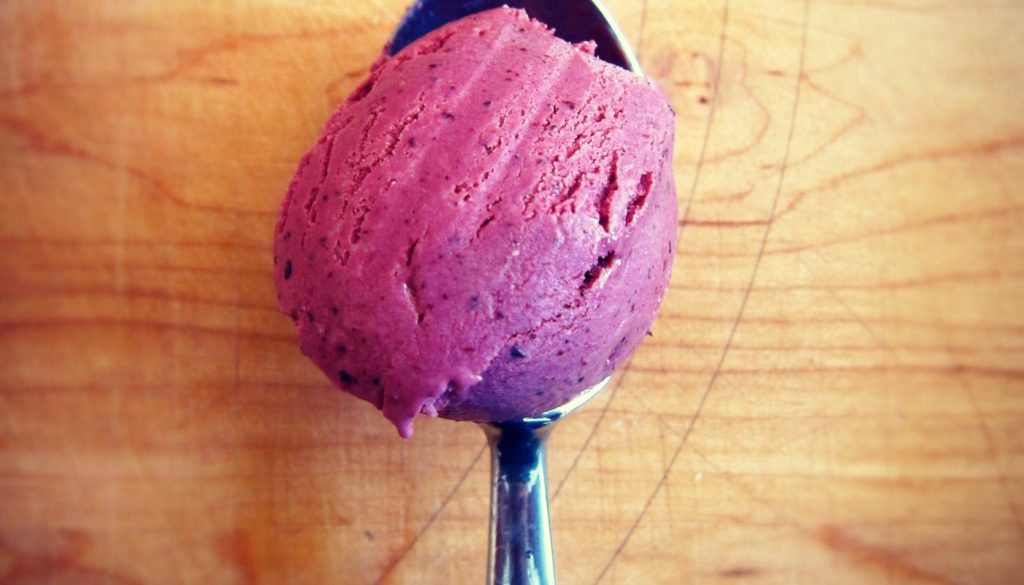
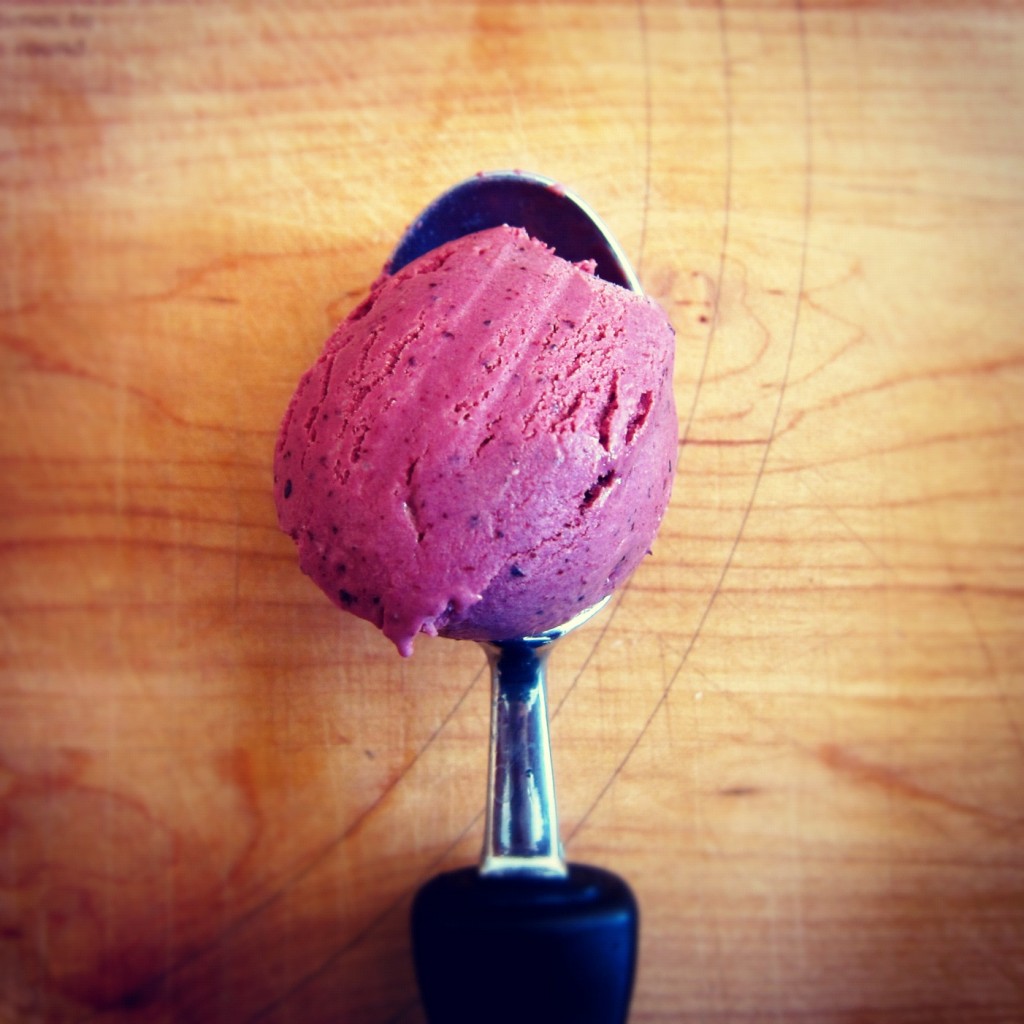
This ice cream celebrates the end of berry season with fresh, sweet, and tart blueberries. The lemon adds just a little extra bite similar to a cheesecake flavor. We enjoyed pairing with some dark chocolate, hazelnuts, or graham cracker crumbs!
—
Blueberry Lemon Ice Cream
Makes about 2 quarts.
Ingredients:
- 3/4 cup whole milk
- 1 1/2 cups heavy cream
- 1/2 cup plus 2 tablespoons sugar
- 6 egg yolks
- 1 pint fresh blueberries
- 1 lemon, zested and juiced
Special Equipment:
- candy thermometer (optional, but very helpful!)
- ice cream maker
- fine mesh strainer
- blender
Steps:
This ice cream has two parts, the ice cream custard base and the blueberry ‘sauce’ which gets stirred in just before churning.
I find the the key to successful ice cream making is having yourself well set up before you start. Once you get things heating up to make the custard base, you’ll need to move quickly.
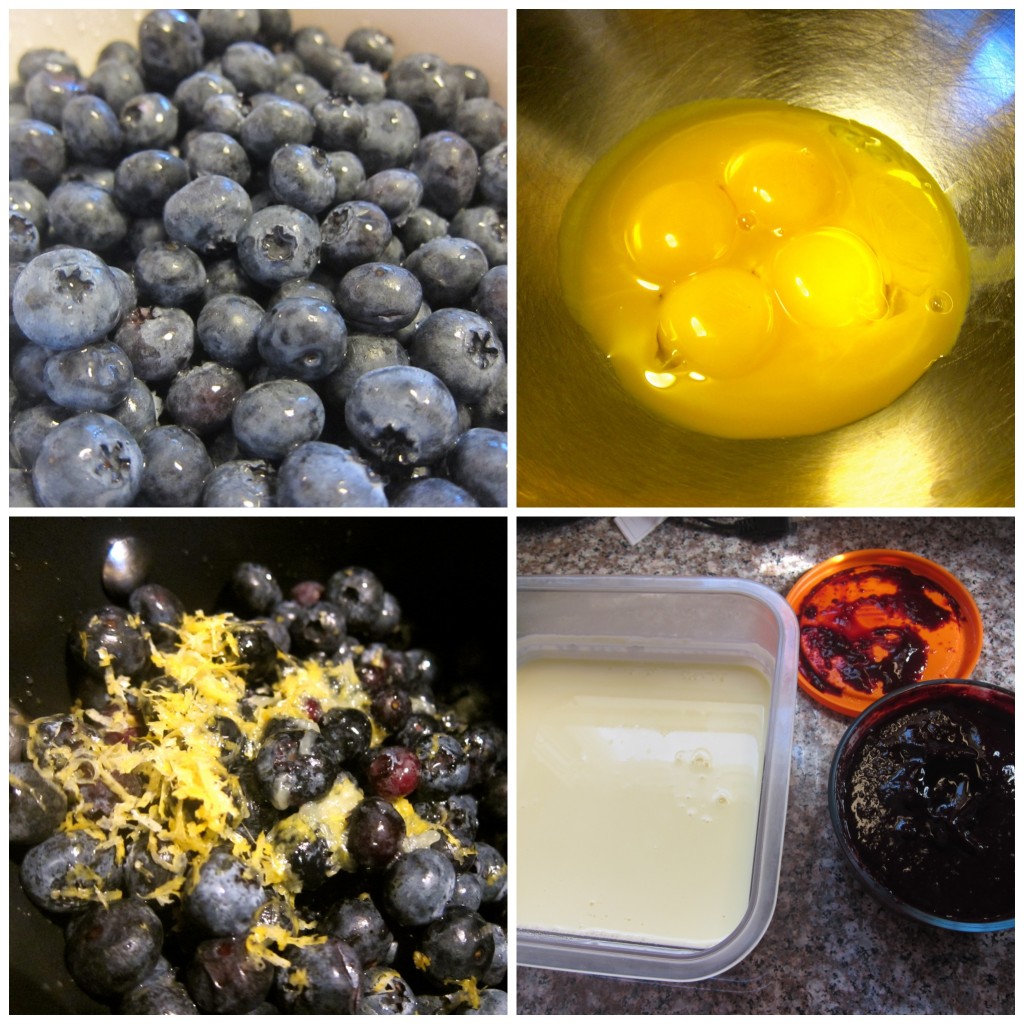
To set up: Separate your eggs and put the egg yolks in a medium bowl. You can save the egg whites in your fridge (they’ll last a while) for other uses, like meringue, macrons, or simple egg white scrambles!
Set up a large bowl (large enough to fit another bowl comfortably inside it) by filling it about half way with cold water. Add a generous amount of ice cubes to this water to keep it very cold. This will be the ice bath for the finished custard base.
In a medium saucepan, combine the milk, 1 cup of the cream and all but 1 tablespoon of the sugar. Pour the remaining 1/2 cup of cream into a medium bowl (one that will fit inside the ice bath bowl) and set a mesh strainer over it.
Have 2 rubber spatulas, a whisk, your candy thermometer, and a ladle on hand and ready to go. Ok, now that you’re well set up, you can start the custard base.
Gently heat the saucepan with the milk, cream, and sugar. Stir occasionally with a rubber spatula, being sure to scrape the bottom of the pan. Milk solids have a tendency to stick to the bottom of the pan as they’re warming. Once the liquid has just barely reached a boil turn of the heat.
Whisk the egg yolks to break them apart and very slowly ladle in spoon-fulls of the hot milk, whisking constantly. Add it very gradually to the egg yolks, and don’t stop whisking. You’re gently raising the temperature of the egg yolks, and if you add too much hot liquid too quickly, you’ll end up with scrambled eggs. Once you’ve whisked all of the hot milk into the egg yolks, pour the whole mixture back into the saucepan.
Turn the heat back on to low and set your candy thermometer up in the pan. Using the rubber spatula, constantly stir and scrape the bottom as you re-warm the liquid. Once the mixture starts to thicken and coats the back of the spatula, you’re done. If you’re using a candy thermometer, you want the liquid to be between 170° and 175°. Don’t go any higher than 185° or you’ll end up scrambling the eggs!
Immediately remove the pan from the heat and pour the mixture through the mesh strainer into the remaining 1/2 cup of cream. Set this bowl into the ice bath and stir with a clean spatula to cool the custard. Let the custard sit in the ice bath for about 10 minutes, stirring occasionally. Transfer to the fridge and chill for at least 3 hours or preferably overnight.
To make the blueberry sauce, clean and remove any remaining stems from the blueberries. Place them in a small pot, along with the lemon zest and juice and 1 tablespoon of the sugar. Heat over medium heat, stirring, until the blueberries have burst and the mixture is thick and bubbling – about 10 minutes.
Blend the blueberry mixture until smooth and transfer to a container to store in the fridge. Chill for at least 3 hours but preferably overnight.
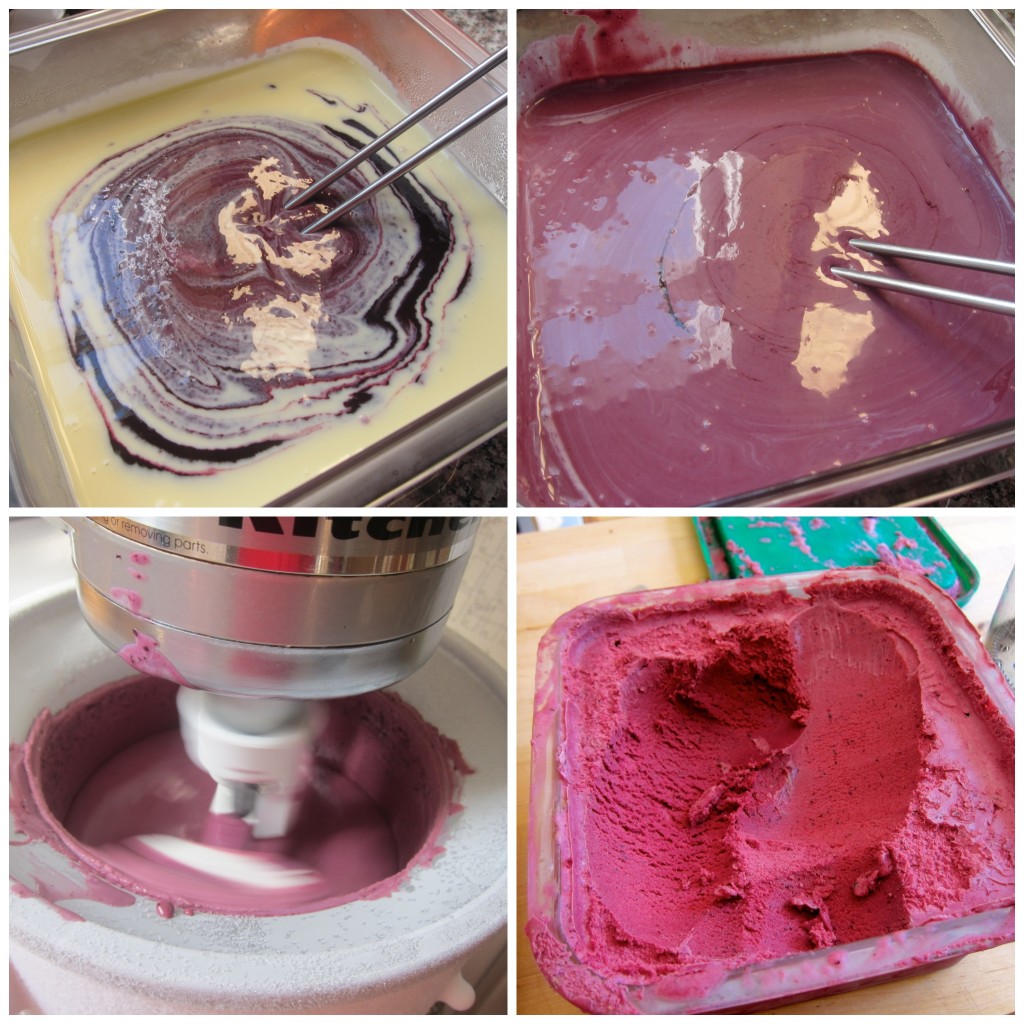
When both the custard and blueberry sauce have thoroughly chilled. Stir the blueberry sauce into the custard base and transfer the whole mixture into your ice cream maker. Process according to your ice cream maker’s instructions and freeze for at least 3 hours to set up.
Enjoy on a cone with some graham cracker crumbs!
Claire Plumb
September 17, 2012 @ 2:57 PM
Soo delicious and so simple.